Simple Stationery Mockup
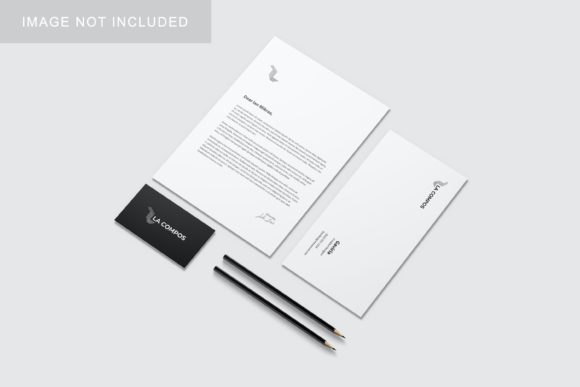
When you are designing business cards, letterheads, or branded envelopes, the difference between a flat digital file and a compelling visual presentation is often just context. This is where a Simple Stationery Mockup becomes an indispensable tool for designers, freelancers, and small business owners alike. It allows you to showcase your work in a realistic 3D display, transforming abstract vector graphics into tangible, relatable objects that clients can immediately visualize.
However, simply downloading a mockup file is not enough to guarantee a professional result. Many creators fall into common traps when selecting and utilizing these resources, leading to distorted images, inconsistent lighting, or files that are difficult to edit. Understanding the technical nuances of PSD (Photoshop) smart objects and knowing what to look for before you commit can save you hours of frustration and elevate the quality of your portfolio or client presentations.
Why Realism Matters in Design Presentations
A clean logo on a white background tells a story, but a logo printed on textured paper with natural shadows and folds tells a brand story. Clients and stakeholders often struggle to interpret flat designs because they lack spatial reference. A high-quality stationery mockup bridges this gap by providing depth, texture, and realism. It helps potential buyers or employers understand how the design will look in the real world, which significantly increases conversion rates and client satisfaction.
The appeal of a Simple Stationery Mockup lies in its balance between complexity and ease of use. You do not need advanced 3D modeling skills to achieve a photorealistic result. Instead, you rely on pre-built layers and smart-object features that handle the heavy lifting. This accessibility makes it suitable for beginners who want to look professional quickly, while still offering enough flexibility for experienced designers who need precise control over their final output.
Common Mistakes When Using PSD Mockups
Even with user-friendly tools, errors can occur if the underlying mechanics of the software are misunderstood. One of the most frequent issues arises from improper handling of smart objects. Users sometimes double-click the wrong layer or attempt to paste images directly onto the visible canvas rather than into the designated smart object container. This results in distorted perspectives, misaligned edges, or low-resolution artifacts that ruin the illusion of reality.
Another overlooked detail is the resolution of the source image. If you place a low-resolution logo into a 300 DPI, 3000x2000 px canvas, the final export may look sharp at first glance but will appear pixelated when zoomed in or printed. Conversely, using excessively large images can slow down Photoshop, making the editing process sluggish and inefficient. Finding the right balance between file size and quality is crucial for maintaining workflow efficiency.
Furthermore, many users ignore the importance of color accuracy. The background color in a mockup might be set to a specific hex code that does not match the intended brand identity. Without adjusting these settings, your presentation could inadvertently communicate the wrong mood or aesthetic. Additionally, failing to check the lighting direction can make your design look "pasted on" rather than integrated into the scene, breaking the viewer’s immersion.
Key Features That Enhance Usability
To avoid these pitfalls, it is essential to choose a mockup that offers robust features designed for ease of use. A well-structured Simple Stationery Mockup should include clear instructions, often provided in a PDF help guide, which walks you through the setup process step-by-step. This support is invaluable for those who are less familiar with Photoshop’s layer management system.
- Smart-Object Technology: This is the core feature that allows you to replace current designs with your own within seconds. By simply double-clicking the smart object thumbnail, opening your design in a new window, saving it, and returning to the main file, the perspective and lighting update automatically. Ensure the smart objects are clearly labeled to prevent confusion.
- Changeable Background Colors: Versatility is key. A mockup that allows you to easily swap out the background color enables you to present the same design in multiple contexts—perhaps a minimalist white background for a corporate client and a vibrant hue for a creative startup. This feature saves time compared to creating separate mockup files for each variation.
- High Resolution Standards: Look for specifications such as 300 dpi and dimensions around 3000x2000 px. These standards ensure that your final exports are crisp enough for both web display and high-quality printing. Lower resolutions may suffice for social media thumbnails, but they fail to impress when showcasing detailed typography or intricate graphic elements.
Evaluating Quality Before Downloading
Not all free or paid mockups are created equal. Before integrating a Simple Stationery Mockup into your workflow, take a moment to evaluate its structure. Open the PSD file in Photoshop and inspect the layer panel. Are the layers organized logically? Is there a dedicated folder for adjustments like curves, levels, or color overlays? A well-organized file indicates that the creator has put thought into usability, making future edits smoother.
Also, verify the authenticity of the preview images. Often, previews are used solely for illustration purposes, and the actual photos included in the package may differ slightly in angle or lighting. Check the product description carefully to see what assets are included. If the mockup relies heavily on external textures that are not bundled, you may end up with broken links or missing elements after download.
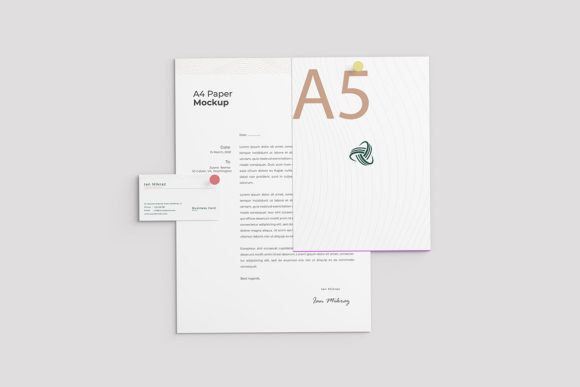
Consider the versatility of the stationery items depicted. Does the mockup show only a single card, or does it include an envelope, a folder, and a pen? A comprehensive set provides more opportunities for storytelling in your portfolio. However, remember that simplicity should not be sacrificed for quantity. A cluttered composition can distract from your design, so prioritize clean, focused layouts that highlight your work without unnecessary noise.
Best Practices for Professional Results
Once you have selected the right mockup, adopt a disciplined approach to editing. Always work non-destructively. Use adjustment layers instead of permanently altering pixel data, allowing you to tweak brightness or contrast later if needed. Pay close attention to the blend modes of your design layer; typically, "Multiply" works best for dark ink on light paper, while "Screen" is ideal for light ink on dark backgrounds. Experimenting with these modes can dramatically improve the realism of your print simulation.
Finally, always export your final work in the appropriate format. For web portfolios, PNG or JPG at 72 dpi is usually sufficient, but keep a master copy at 300 dpi for any future print needs. By combining a reliable Simple Stationery Mockup with careful attention to detail and proper technique, you can create presentations that not only look professional but also effectively communicate the value of your design expertise.